So, this week was evaluation our ideas with a few methods like DOT, Matrix and focus groups. I happily found the top 3 were some I liked, though they would need some heavy tweaking to make them in the style of the brand. My ideas have some weird forms meaning I’ll have to use the features of their products in order to keep somewhat in style with the brands. We now had to make CAD models to put into keyshot to learn to render using that.
Klipsch – Week 5
Started off the week with a lecture to show us how to come up with ideas and forms by using CAD, namely Solidworks. This was a fun exercise as it came up with some really interesting ideas. We would then screen shot them and draw over them to add details or change the form slightly which worked surprisingly well and helped me find some really interesting ideas.


Klipsch – Week 4
This week was all about making a start of physical models and continuing with ideation, we also had to come up with 5 descriptive words that suite the brand, I went with Heavy, Premium, Decorative, Simple, Effiecient. This helped me focus all my ideas to something that matches my brand a little and make some ideas that were actually relevant. Overall, a very useful week in the sense of coming up with ideas and mentally focusing myself on the brand
BCB International, 24hr Project
So we have had a 24hr brief for the company BCB International, in short the brief was to make a ferrocerium fire starter that can be used with one hand, must be durable, light weight and cheap to produce. We were also in groups mixed with first, second and third years. I found this really insightful overall because we got to see, not only the skills of others but the skills which I could have when I’m at their level. We started by brainstorming and then simply drawing and coming up with basic ideas.


This top right design ended up getting through the first stage meaning we have to make a functioning prototype for presentation. Reflecting on this, it was a really weird feeling as this would essentially be my first design job of my career.

This was our final design, sadly didn’t make the cut, however, I feel like I learnt so much by simply talking to, working with, and talk to the other students about whats to come and the skills we’ll be developing in my further years in uni.
Klipsch – Week 3
We did a new method of ideation! we essentially took pictures of their products and cut out the parts we liked and stuck them together on drawings to find different forms and such.
Starting to finalise on 3 of our drawings to end up being our final concepts, we then had to CAD them in order to practice using KeyShot. Still not liking solidworks in the slightest as I simply find it intuitive, clunky and it simply doesn’t flow compare to the software I’m used to using.

Klipsch – Week 2
This week was simply starting ideation, i was just doodling forms and seeing if I could change them into forms that could be appropriate for a speaker and occasionally finding a design that looks somewhat like the brand, or finding something that could have potential to look like their stuff.


NEW PROJECT – Week 1
This week we’ve been given a new brief! Its all about brand alignment, so, making your products fit in with a brands existing products and aesthetics. Which is why we’ve been looking at the makeup of a brand. Or what makes that brand behave/design the way hey do. Also, we had to decide on a brand we’ll be designing for. I picked Klipsch simply by scrolling through speaker brands and their style simply stood out to me as something I liked. This brief is also focused on CAD and rendering with Keyshot which I am very excited because its something I feel that I enjoy a lot and feel that I might be good at it because of past experience.
2 Day FabLab Project Day 2
Today we really had to go all out in order to make a working model by the end of the day. Organisation was key in this so we straight away gave each person specific jobs to do, eg, Faheem and my self were figuring out dimensions, whilst Drew, Steve and Jason were all cutting out the sheets while Kit got started on the logo.

After, the assembly was complicated and used a huge amount of hot glue and time. while myself, Jason and Faheem tackled this, drew helped with preparing the other bits while Steve created the inner organisation solution


When it was complete, we had the presentation, most of the questions we had we had thought about at some point or other and we responded to them well, other than Kit making some questionable statements. Most of the issues though were to do with the height, which with a design like this would be very difficult. We had played with the idea of hydraulics in previous designs but had been told to stay away from them due to the complications it could cause


2 Day FabLab Project Day 1
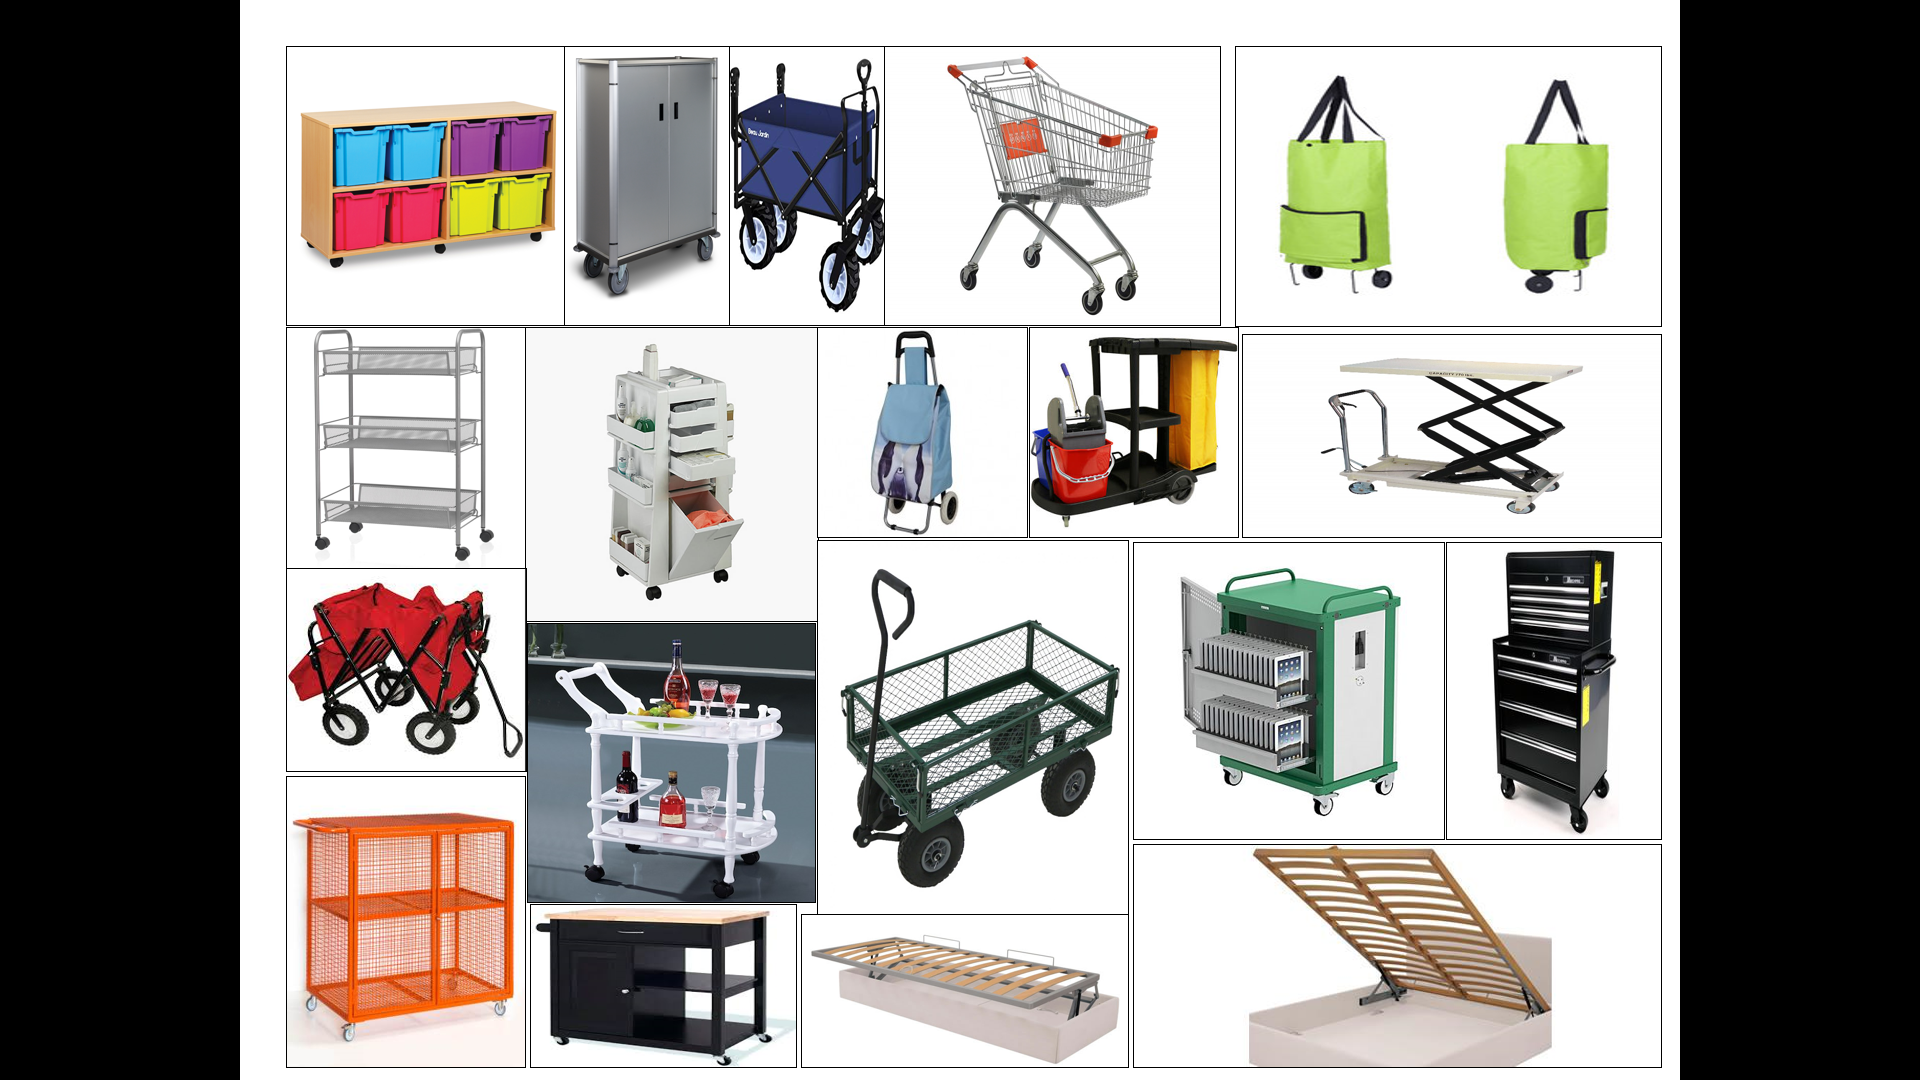
Today was our first live project, teaming up with FabLab to make a micro lab. This is a lab that is meant to be able to be transported with all the tools,fixings and accessories required. My instant thought was that that’s a lot of stuff, I was also thinking about having surfaces to work on at the time. There really was a lot of stuff as seen below

Our group then started talking about all the various options and ideas that initially came to mind for example netting, hooks, tables, shelves vs drawers etc. The main issue I though was having the 3D printer accessible at all times whilst not leaving it open to dust all the time.
We very quickly moved on to making a story board about how the trolley is currently used, this quickly made us realise that we are going to have to design for the young and the old, in other words, tall people, short people, weak people and also strong people. Simply put this is going to be a universal design intensive project. Its leading me to think about making the work surfaces adjustable in height. We very quickly started ideating and playing with ideas mentioned before and came up with a brief concept design.


This design got developed very quickly then by speaking to multiple people but also amongst ourselves, bouncing ideas off each other.


We finally settled on a somewhat final design and started finalising details, we all agreed it would slide out length ways, have wedges for brakes and a sealed compartment for the 3D printer with a perspex window to always be able to see it. Its safe due to folding compartments that also act as doors that can be padlocked shut. Overall, we think the idea is pretty well thought out.

We got all of our measurements sorted and then make a big card model. This model doesn’t look so good due to the scrap card we used so we’re thinking of putting paper or card on the outside when we’re done to make it look the part a little more.

Collaboration – Final Product and Testing
The final product looks amazing in my opinion, its just how we all envisioned it when we were coming up with the idea. We did ask people for feedback and testing the general consensus was that people like the whole premise of the bag and the aesthetics apart from the lining’s ink that was getting everywhere.
Overall, it suits the brand, suits the market and overall, was a successful project.


